HOW TO-
You Will Need:
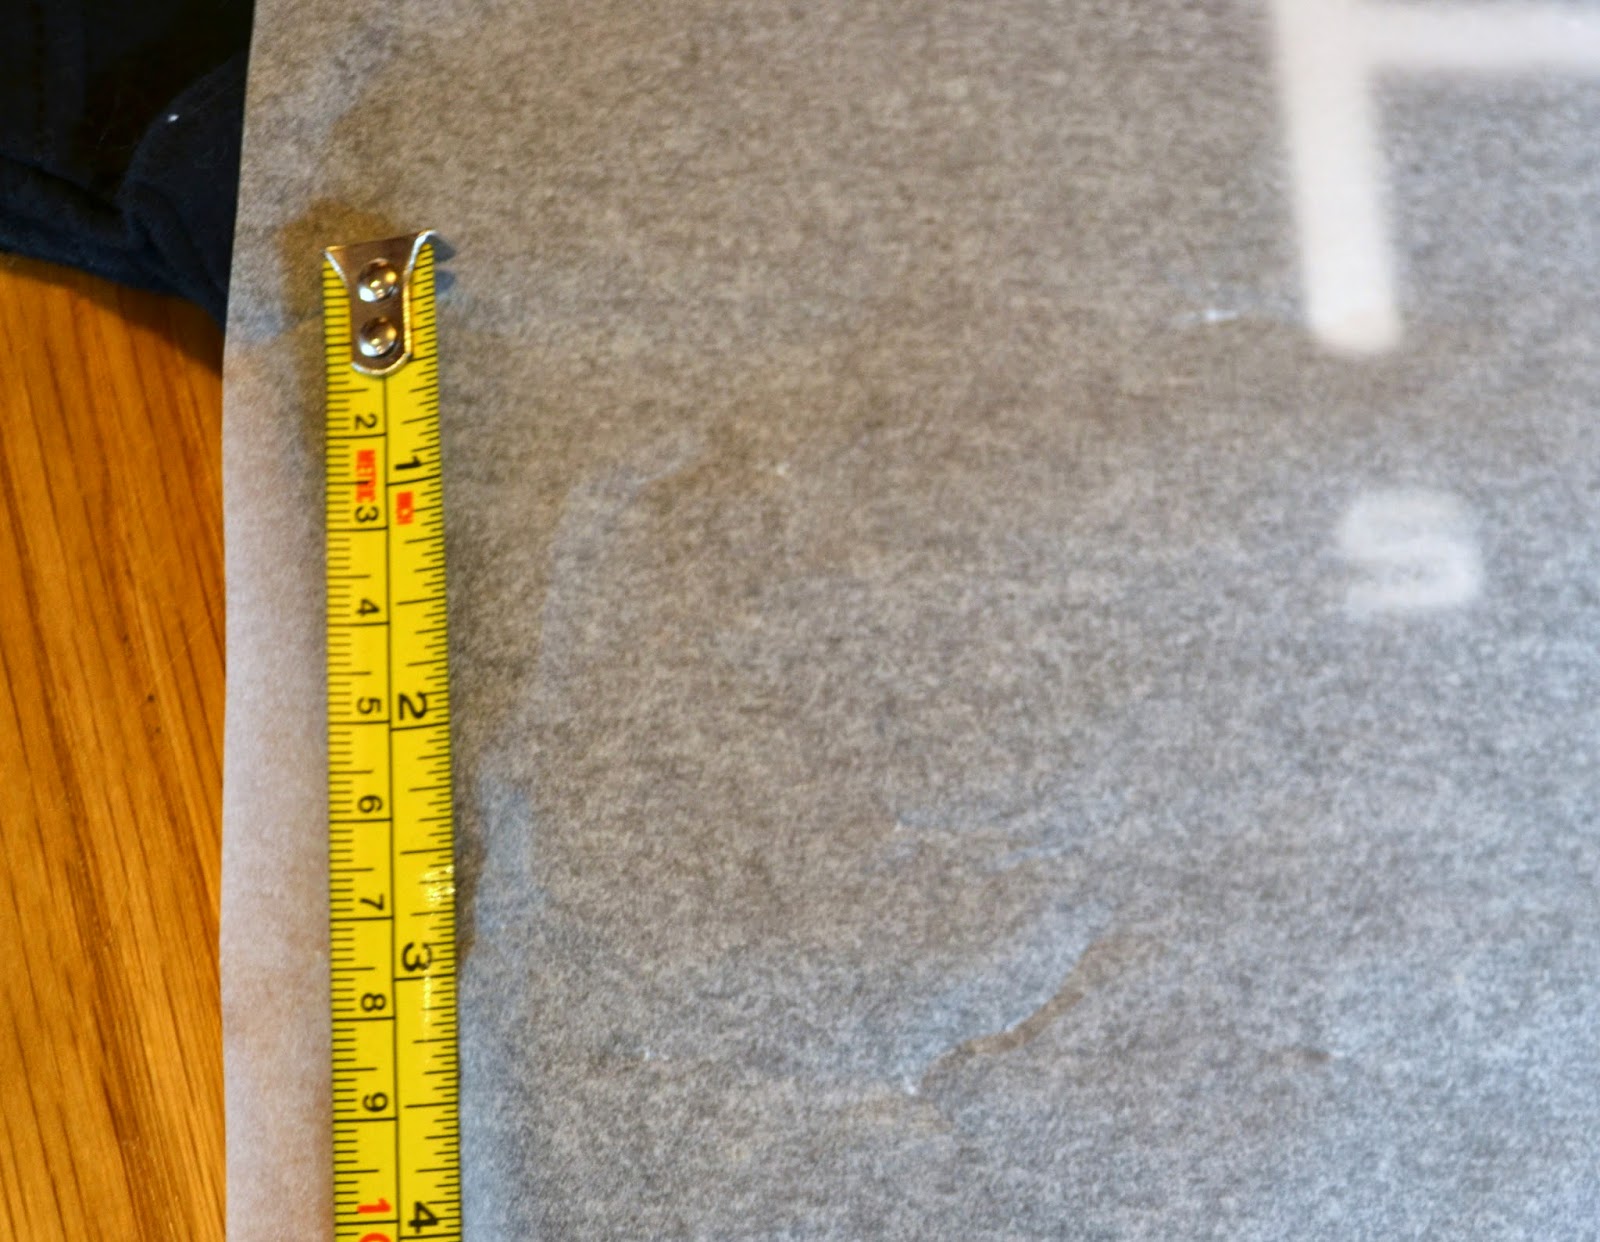
Greaseproof paper, or pattern cutting paper. I only used greaseproof as I don't own any pattern cutting paper, but either will do. S for sassy, not Sainsbury's.
A pair of fabric scissors
A t-shirt that fits quite closely to your body, it won't be 'harmed' so you can use anything.
Obviously need fabrics you want to make the top into, make sure there's enough for your body and extra, for straps and tidying strips.
You will also need items such as thread, a sewing machine, pins and needles, and measuring tape.
The Making:
If you don't have a sewing machine, then you will still be able to make this.. it will just take way longer and probably won't look anywhere near as good. Although, I actually have a sewing machine, and mine still turned out pretty messy so who knows!Firstly, you'll need a tight fitted t-shirt. Fold it in half perfectly and lay it flat on a table or surface. Then proceed (oh) to measure the neckline to bottom of the top, roughly how long you want your crop top to be. But give yourself a few inches extra, just in case you mess up the sewing. Then measure the length of the neck line to the armpit, and then the armpit down.
Then, draw these lines together to make your 'pattern' and pin it onto your piece of fabric. Make sure its on the left side of the fabric, and that you've left the same amount of fabric opposite.
Then fold the sheet of fabric in half and re pin the pattern against it, making sure the longest side of the pattern is on the fold of the fabric. Something like this:
Once you have cut along the pattern, remove the pattern from the fabric and open it out.. It should look something like this, (Feel like I'm on Blue Peter) "Here's one I made earlier...."
If you need to neaten up the sides, do that now.
This next part is optional, adding 'darts' to the fabric so that it folds outwards to accommodate boobage. This wasn't actually necessary, but seeing as I've never used a pattern either I decided to really push the boat out here and go all out. Darts and all. Cheeky tip, if you google 'how to dart' it comes up with A LOT of dart tutorials.. as in the sport, that's not what you want in this situation FYI.
So I measured out my darts, pinned down them and sewed along the lines. etc etc
Next, to make clean edges on each side of the top, you'll need two strips of fabric. Around 1 inch long, maybe more if your edges are very messy, and the length of the neckline to the bottom of the top. Mine was 12 inches if you want a guesstimate, but this wasn't actually long enough so give yourself an extra inch on either side of the strip. To make these strips of fabric I first measured them out on greaseproof paper and pinned it to the fabric, this ensured straight lined fabric with equal sizing.
Next, you'll need to pin the fabric down the side, with half an inch on either side of the fabric. Make a fabric sandwich!
Very useful tip for pinning when using a sewing machine is place the pins the opposite way you'll be sewing, this means you don't have to remove the pins as you sew it. Very easy works!
This by the way, is my horrific effort at sewing, probably should have gone for a white top and bottom thread as opposed to the black......................
Anyway, next fold over the top (neckline) and bottom by about an inch or less and sew as close to the edge of the fabric as possible. As this will be the carrier for the thread going through to become the halterneck tier and back fastening. Thats way too hard to explain, so I've photographed what I did, which will hopefully help...
Again, apologies for my atrocious handiwork, I'm still quite new to my sewing machine so 'neat' isn't really in my vocab yet. Still, it does the job so I cant complain. This is as much as a learning curve for me as it shall be to you, you lovely readers.
For the threading you can either sew the same material in half and turn it inside out to hide stitch marks or you can just use ribbon. To turn it inside out, attach a paperclip to one end and then push and slide the paperclip back through the tunnel, effectively turning it inside out to hide stitch marks (very clever)
For mine I used a thick ribbon for the neck, and a florescent yellow cord for the bottom, but that's personal choice.
Finito
ANYWAY
So this is the final product, I shall perhaps remake this with extra inches everywhere to accomodate my horrific sewing, and with better thread but I won't lie. I'm pretty pleased. This is the result.................
AHA this was meant to be a close up of my 'dart' but its just such a funny angle, you should have seen it before I cropped out my face. It also highlights my horrific stitching, but hey no-ones perfect. Because of the colouring of the top, I'm guessing it probably works best with denim or black, but either way definitely high waisted bottoms. SO, as my mom jeans are my new babies, I have paired it with them, and here it is:
THANKS FOR READING
HOPE THIS WAS HELPFUL
LOVE YOU ALL
XOXOOXOXOXOXOXOOX


No comments:
Post a Comment