Showing posts with label diy. Show all posts

Thursday, 4 September 2014

I MADE SUSHI

Hello all, if you have followed my blog from the VERY beginning you will remember a cheeky post about 'How To - Make Sushi' (click the link to see the post)
OH YEAH, I FINALLY DID IT!! Here is photo evidence of my japanese adventure. Oh and I made the kimono I was wearing but I had to tie it around me or there would have been waaaay too much boob on show, I used a variety of tutorials to do so, but I sort of just made it up so look out for a future post on that. 
Enjoy!


Lol Leah caught me mid-speaking but I fixed it, but hey this is me making sushi in my kimono that also looks like a dressing gown....... 

*a million smiley faces*


So there you go, look how cute and sushi-like it is. It didn't taste too bad either!
100% try this yourself, it is as hard as it looks but it was hilarious, attempt 2 will be very soon!


Sincerely, Ellie the Sushi Master


THANKS FOR READING
I TOLD YOU I WOULD DO IT

xo

Saturday, 16 August 2014

Pattern Overdrive


Crotchet Crop Top - eBay
Bandeu - H&m
Trousers - TKMaxx
Earrings - Topshop
Scrunchie - Local Pharmacy ........................ no not DIY soz
Rings - Present from Kp and Camden Markets
Handmade Rucksack - Israeli Vintage Shop


So I hit 15,000 views today which is very exciting and all!!!!

Here's a little 'Ootd' to celebrate, bit of a summer outfit, or maybe a festival lookbook. These trousers are just beaut, although when I wore them out last week a guy came up to me and I quote "woah, really digging the whole pyjama vibe you've got going on, awesome".........................................they aren't pyjamas mate. Oh how I love a good backhanded compliment in the morning.

Anyway, not too much to say about this one, just love a bit of pattern clashing and it seems colour is the new black! yeah yeah 'Orange' too (orange skort ootd will follow) (see what I did there, now you have something to look forward to) (you're welcome lol) Crochet seems to be the look of this festival season, if anyone knows how to do it let me know because I would love to learn, yeah I tried teaching myself..... unsuccessful. This top is v versatile btw, can be worn both ways, as in back and front...not inside out. Obviously with a top/bikini/bandeu underneath or it would be a true 'free the nipple' ad. 

BUT HEY
Thank you so much if you've been reading and supporting this blog, means the world and please continuing reading!

*me rn*


HUGE LOVE AND HUGS TO ALL U BABES
xo

Sunday, 22 June 2014

Just a Baseball Hat and a Bit of Denim


Leggins - Topshop
Shirt - Vintage
Hat - Market
Denim Jacket - Motel Rocks Vintage Pop Up
Scrunchie - DIY - link tutorial click here
Sunglasses - Primark
Shoes - Creepers, Office


I am aware that I look like an American 'football' player on their day off, a very standard leggins and shirt sort of day. Not saying that footballers wear leggins, it's just the whole 'backwards hat vibe' going on.

I feel like I may never take this jacket off, it is the comfiest thing with the most strategically placed pockets for concealing ones hands, that are actually big enough to fit a phone, keys and purse in. So thats fab. It even fits perfectly over every single item of clothing I own, although not in the 'Joey in Chandlers' sense; from another jacket (double whammy) to one or two hoodies, not that I need them in this weather. Although if you've been to Herts Uni Library, it gets pretty chilly in there. Anyway I've gone completely off topic, I can never decide if I'm a 'leggin's' person or a tights person. but revision calls for elasticated waists (If you know what I mean) so these do me fine in my slouchy moments. Although I feel that 'fashion' is something one should always pride yourself on, it's just impossible to look good during exam season, stress affects skin, everyone is eating three times their body weight because its a fab way to procrastinate.. or procrastin-eat (ha) and we're all in that awkward in-between stage of when it's acceptable to whip your ever-so-pasty legs out for the general public.

Shoes-wise though, creepers are wonderful. Not necessarily a 'flattering' shoe.. but the platform does give me that cheeky extra inch and a half that brings me to the normal height of 5'5" (I'm lying, way closer to 5'4") But anyway, in a classic black suede they go with baaaaaaaasically everything, except brown but I don't own brown. These are the kind of shoe that I will keep in my cupboard and rediscover in 4 years and start wearing again. I am a major hoarder and I hate throwing anything away, but this is the kind of shoe that is so simple that they can't really be out of style so I don't feel any guilt in hoarding these. 

It probably isn't legit, but I've decided that having light eyes makes them more sensitive, hence why I am permanently wearing sunglasses or else I look like I'm screwfacing the camera, not a good look. These are what I like to call my "throwaway pair" originally bought for lovebox festival last year, they are brought out every time I'm going somewhere where they will probably be snapped in half. And for £1.50 I don't feel too distressed by that option.


Thanks for reading as always!
Check out my Instagram, twitter etc links are at the side of the page.
Share, comment and follow me to your hearts desire!

xo


Sunday, 8 June 2014

How To - DIY Scrunchie

Hola fellow DIY'ers!! In today's post I shall be sharing my wonderful tutorial of how to make your own SCRUNCHIE.
SO YE I FINALLY GOT ROUND TO DOING THIS.

If you, like me are a curly (big haired) girly and the majority of hairbands snap after a weeks use, then scrunchies are a beautiful solution. And they look fab.
My ever growing collection has now branched with matching previous DIY jobs, like my 'Halterneck Top.' Which I have made matching scrunchies for, how adorable. Link for that DIY is heeeeeeeere.
Below are a "small" selection of one's I have previously made, however not all as I couldn't fit them all on my arm:

From left to right:
Velvet, Velvet, Silk, Cotton, Denim, Cotton, Silk, Velvet


YOU WILL NEED:

  • Material of your choice
  • Sewing machine or a lot of patience
  • A needle
  • Thread that matches your chosen material
  • An elastic band
  • Fabric scissors

THE MAKING:


So to start you will need to measure and cut a piece of your material, I normally do it around 3.5" across and 22" wide, but obviously that is personal choice and preference to how thick you want the scrunchie and how 'scrunchie' you want the scrunchie.


Cutting really doesn't need to be neat you wont see any of the seems. The next step is to simply fold the material in half length-ways INSIDE-OUT and pin it vertically. Pinning vertically is magical in the sense that it means you can sew the fabric in a sewing machine without removing the pins as you go along, this is much quicker and ensures the material stays exactly where you want it.
Sew the whole length, and back-stitch the beginning and end so the thread doesn't unravel.
I do this stitching twice, because through previous experience if it snaps, the scrunchie will stay 'whole.'
Now you need to turn the fabric back the right way round, thread it through itself so to speak. And it should look something like the picture below:


Cut your elastic band at one point and then using a safety pin, attach the pin through one end of the band.
Use the pin to thread the band through your 'tube' of fabric, making sure you hold onto the end of the elastic band that isn't attached to the pin.
Then simply tie the elastic in a double knot, checking it fits your wrist snugly with a bit of room to avoid hand suffocation. And cut off excess elastic band as this will just become annoying when sewing up the scrunchie.


Finally, take your matching thread (or as close as you can get) and double thread a needle making sure the knot at the end is large enough that it won't pull through the fabric. Fold 'in' one side of the fabric to make a seem and tuck the other side of the tube inside that tube... if you know what I mean. Then proceed to sew the whole way round, try to only sew the side of the tube you are sewing to the opposite tube as opposed to sewing through all 4 pieces of fabric. Something like this:


ET VOILA, 
la finished scunchie:


*Blue Peter Voice*
[Here's one I made earlier]


Hope that was easy to understand, once you make one you will get the hang of it pretty quickly. They only take me about 10 minutes to make now, from start to finished product in hair.
Anyway, I have gone a little DIY-mad but these halterneck's are so so cute and although I did try (and fail) to make matching shorts I didn't have enough material left so I made matching scrunchies instead. Thinking about maybe selling these, let me know if you would be interested in having one as I can always buy more material!

These tops look quite strange on the hanger, but if you pop over to here or here you can see what it looks like on.


Safe for reading as always, share/subscribe or follow me and I shall love you...
Over and out 

xo


Thursday, 15 May 2014

Sporty Chic and a DIY Job


Trousers - Adidas Vintage Sportswear
Halterneck Crop Top - DIY ----- Check out how I made it here
Shirt - Charity Shop 
Sunglasses - Ray Ban
Bodychain - eBay - here
Rucksack - Radley
Shoes - Steve Madden (Mums obv)
Scrunchie - DIY


Hi all, was thinking of how I could dress up the top I made and well then I remembered I picked up these silk tracksuit thingys when I was in Bristol. They are the comfiest trousers I have ever worn in my life, but can so easily be made 'posh' with a pair of heels (I think). Anyway, I like this outfit, maaaaybe I could possibly brave wearing it one day, but that also depends if my mum lets me wear her shoes. It's so fab having the same size feet as her, she has the best shoe wardrobe ever. These nude heels are so so comfy, and I will be borrowing them much more often. I am aware of the tackiness of the bodychain, but I can't lie, I'm loving it and I plan on wearing it all summer. The sunglasses are purely to hide the fact I wasn't wearing any make up, and also it was incredibly bright when I took these which is why i look so grumpy and squinty.

I am so happy with this top, it is the first thing I have ever made completely from scratch, with pattern cutting and all!! And it is actually quite wearable, minus being a little slutty, but who cares. The neon lower strap is just fun really, if I wore this to a 'nice' event I think I would switch it for a grey or blue ribbon, but it spices it up for the meantime. My hair was a shambles but it was too frizzy to wear down, and it was also quite windy, so this was really for the best. I don't know why I keep putting two bits of hair out, but I feel like it makes my face look thinner and distracts everyone from how square my face actually is hah. 

I can't tell if the shirt works with the outfit, but it definitely dresses it down a lot. The picture makes it look like it clashes with the top, but they were actually very similar colours. I feel this outfit is sort of urban preppy, a wonderful clash.

Can't believe I hit 6000 views today, this is too surreal
Thanks so much to everyone who has been checking me out, or following me, I am actually so flattered!!
xx

Monday, 12 May 2014

How To - Halterneck Crop Top

HOW TO- 

You Will Need:


Greaseproof paper, or pattern cutting paper. I only used greaseproof as I don't own any pattern cutting paper, but either will do. S for sassy, not Sainsbury's.


A pair of fabric scissors


A t-shirt that fits quite closely to your body, it won't be 'harmed' so you can use anything.


Obviously need fabrics you want to make the top into, make sure there's enough for your body and extra, for straps and tidying strips.

You will also need items such as thread, a sewing machine, pins and needles, and measuring tape.

The Making:

 If you don't have a sewing machine, then you will still be able to make this.. it will just take way longer and probably won't look anywhere near as good. Although, I actually have a sewing machine, and mine still turned out pretty messy so who knows!

Firstly, you'll need a tight fitted t-shirt. Fold it in half perfectly and lay it flat on a table or surface. Then proceed (oh) to measure the neckline to bottom of the top, roughly how long you want your crop top to be. But give yourself a few inches extra, just in case you mess up the sewing. Then measure the length of the neck line to the armpit, and then the armpit down.


Then, draw these lines together to make your 'pattern' and pin it onto your piece of fabric. Make sure its on the left side of the fabric, and that you've left the same amount of fabric opposite.


Then fold the sheet of fabric in half and re pin the pattern against it, making sure the longest side of the pattern is on the fold of the fabric. Something like this:


Once you have cut along the pattern, remove the pattern from the fabric and open it out.. It should look something like this, (Feel like I'm on Blue Peter) "Here's one I made earlier...."


If you need to neaten up the sides, do that now.
This next part is optional, adding 'darts' to the fabric so that it folds outwards to accommodate boobage. This wasn't actually necessary, but seeing as I've never used a pattern either I decided to really push the boat out here and go all out. Darts and all. Cheeky tip, if you google 'how to dart' it comes up with A LOT of dart tutorials.. as in the sport, that's not what you want in this situation FYI. 

So I measured out my darts, pinned down them and sewed along the lines. etc etc


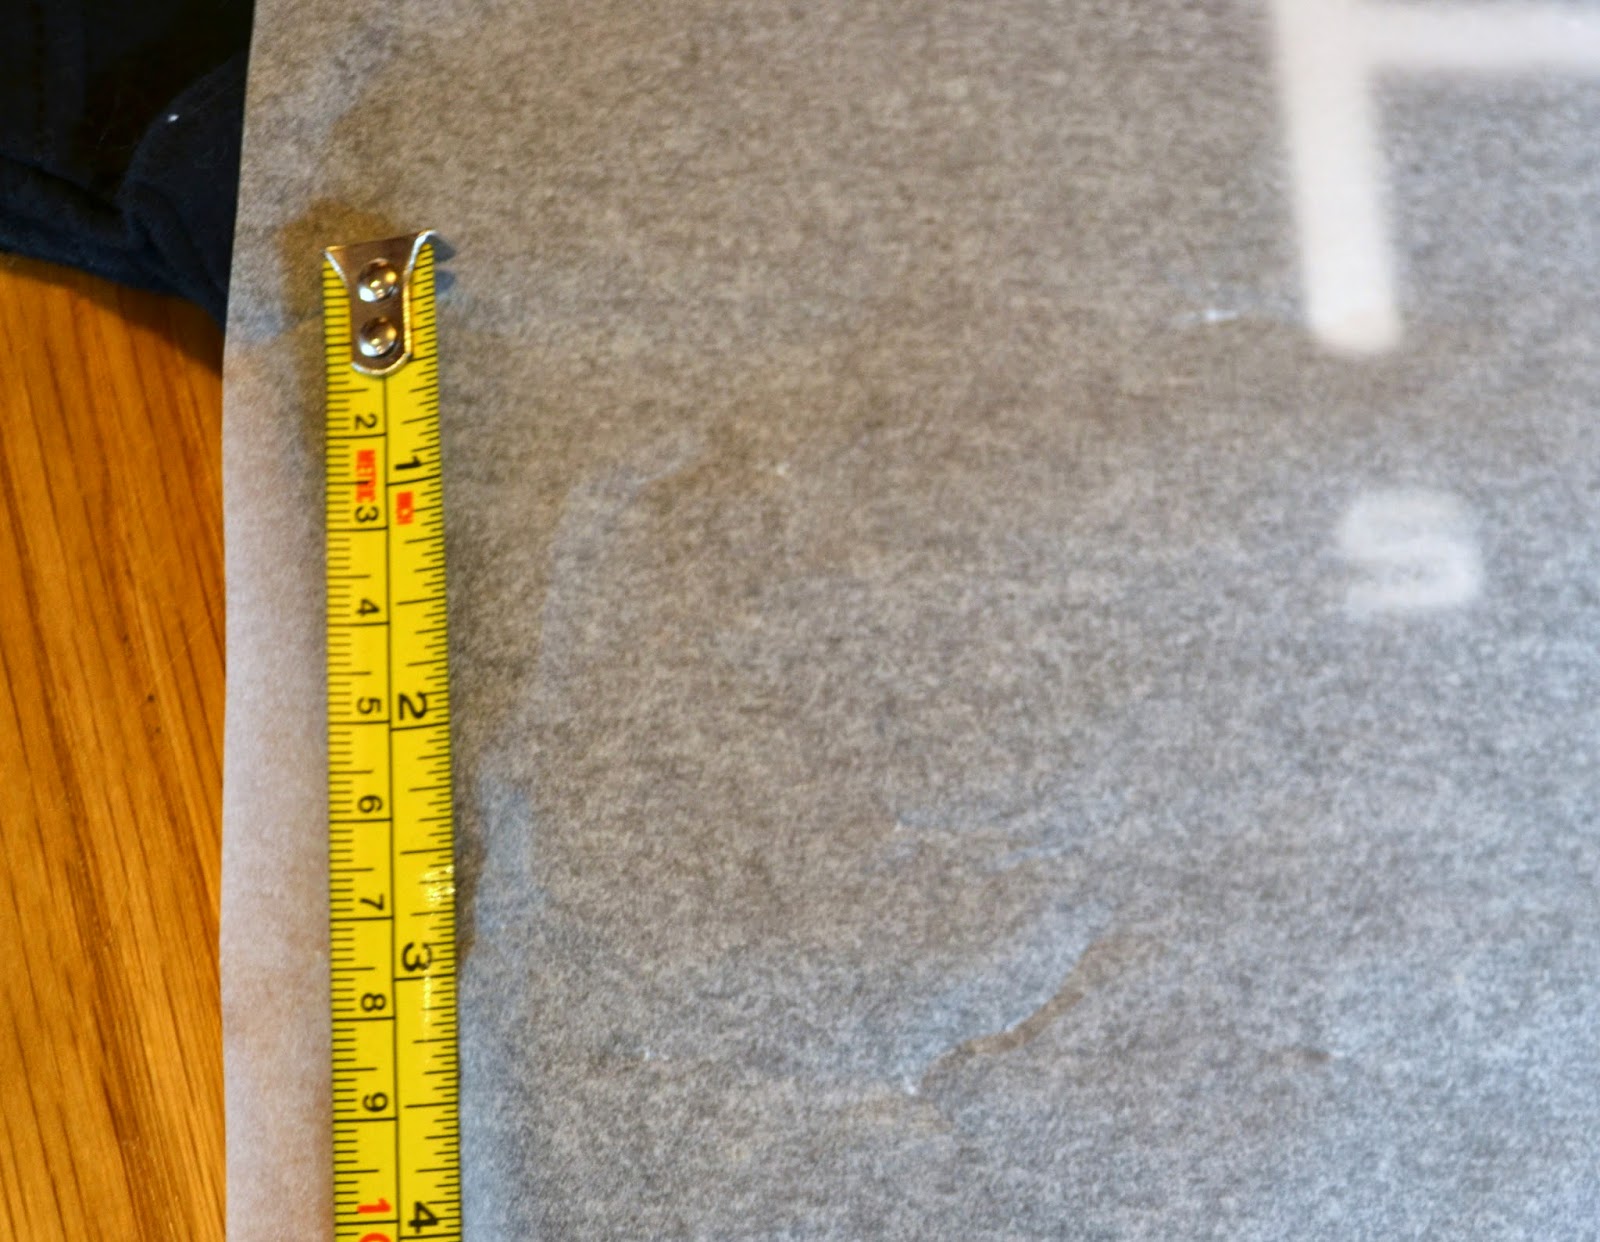
Next, to make clean edges on each side of the top, you'll need two strips of fabric. Around 1 inch long, maybe more if your edges are very messy, and the length of the neckline to the bottom of the top. Mine was 12 inches if you want a guesstimate, but this wasn't actually long enough so give yourself an extra inch on either side of the strip. To make these strips of fabric I first measured them out on greaseproof paper and pinned it to the fabric, this ensured straight lined fabric with equal sizing.


Next, you'll need to pin the fabric down the side, with half an inch on either side of the fabric. Make a fabric sandwich!
Very useful tip for pinning when using a sewing machine is place the pins the opposite way you'll be sewing, this means you don't have to remove the pins as you sew it. Very easy works!


This by the way, is my horrific effort at sewing, probably should have gone for a white top and bottom thread as opposed to the black......................
Anyway, next fold over the top (neckline) and bottom by about an inch or less and sew as close to the edge of the fabric as possible. As this will be the carrier for the thread going through to become the halterneck tier and back fastening. Thats way too hard to explain, so I've photographed what I did, which will hopefully help...


Again, apologies for my atrocious handiwork, I'm still quite new to my sewing machine so 'neat' isn't really in my vocab yet. Still, it does the job so I cant complain. This is as much as a learning curve for me as it shall be to you, you lovely readers.
For the threading you can either sew the same material in half and turn it inside out to hide stitch marks or you can just use ribbon. To turn it inside out, attach a paperclip to one end and then push and slide the paperclip back through the tunnel, effectively turning it inside out to hide stitch marks (very clever)
For mine I used a thick ribbon for the neck, and a florescent yellow cord for the bottom, but that's personal choice.

Finito

ANYWAY
So this is the final product, I shall perhaps remake this with extra inches everywhere to accomodate my horrific sewing, and with better thread but I won't lie. I'm pretty pleased.  This is the result.................


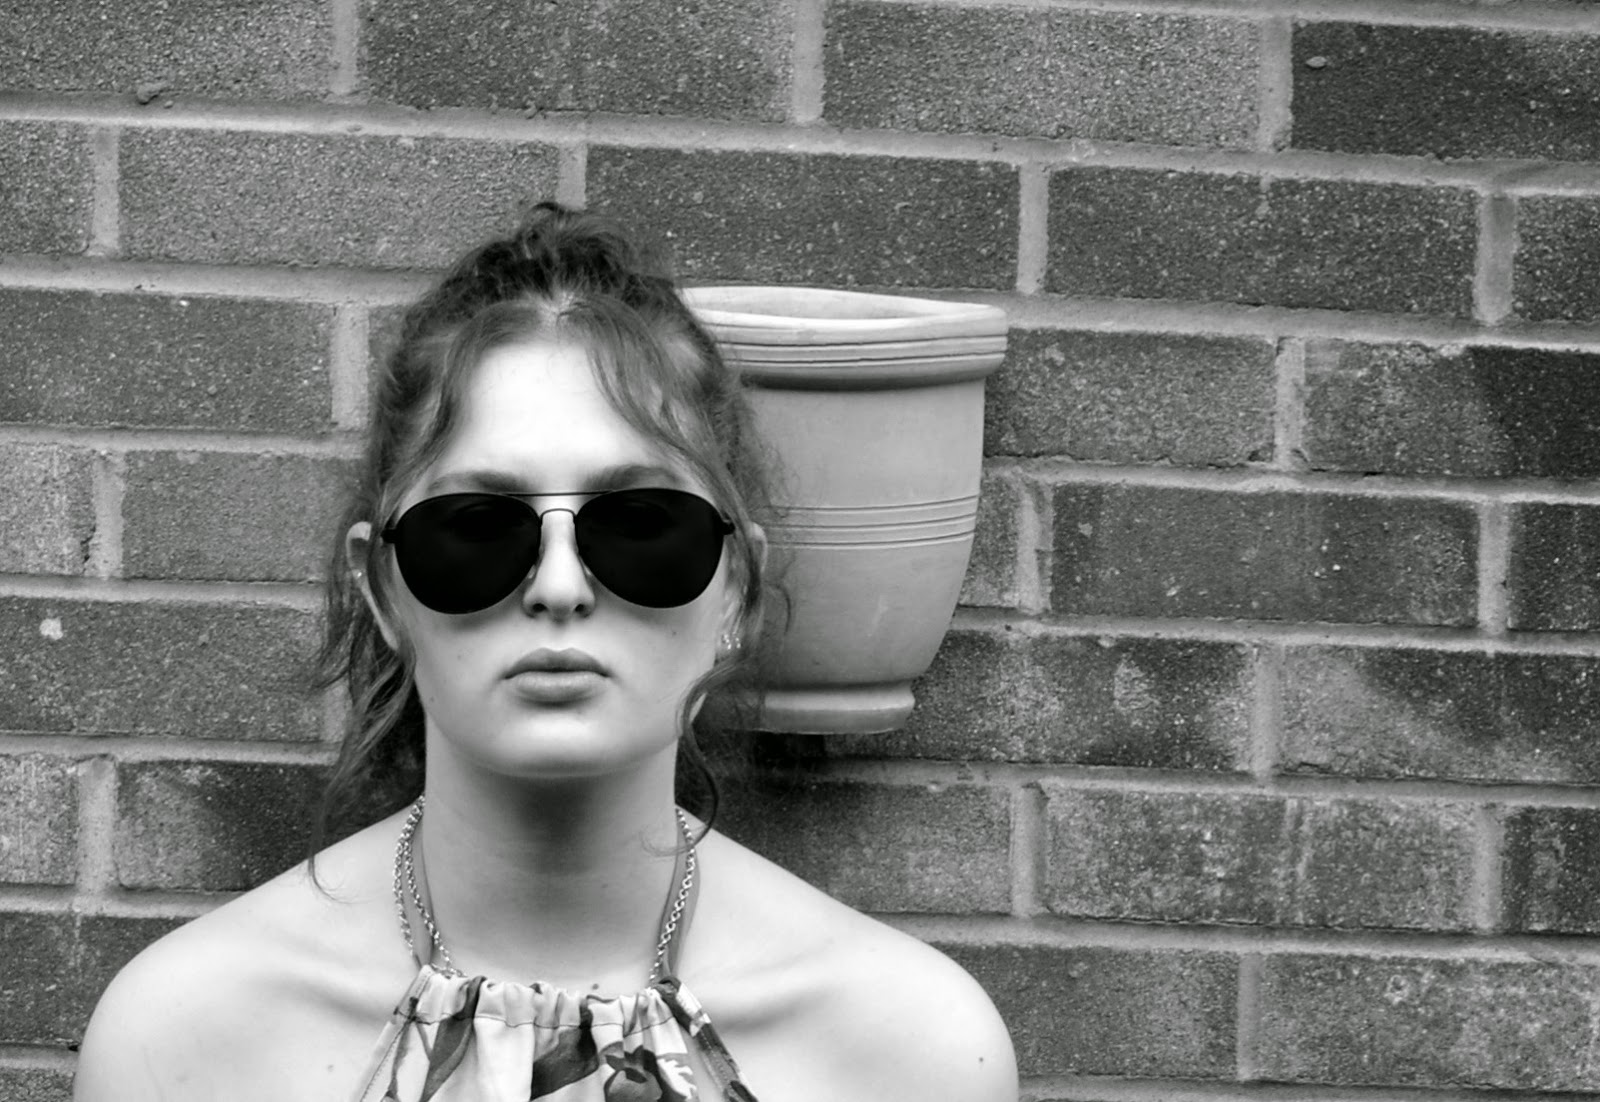
AHA this was meant to be a close up of my 'dart' but its just such a funny angle, you should have seen it before I cropped out my face. It also highlights my horrific stitching, but hey no-ones perfect. Because of the colouring of the top, I'm guessing it probably works best with denim or black, but either way definitely high waisted bottoms. SO, as my mom jeans are my new babies, I have paired it with them, and here it is:


THANKS FOR READING
HOPE THIS WAS HELPFUL
LOVE YOU ALL
XOXOOXOXOXOXOXOOX